Boricua Blocks
A 3D-Printed Puzzle Map of Puerto Rico
Introduction
What do you gift someone who loves Puerto Rico?
I wanted something meaningful. Not just symbolic, but interactive. A puzzle map of Puerto Rico, with each of the island's 78 municipalities as its own piece.
I couldn't find one.
So I built it.
What started as a simple gift idea turned into a design and 3D printing project:
- A frame shaped like the island
- 78 individually modeled municipalities
- Half a dozen test prints to get it right
It became more than a gift. It became a design challenge and a reminder that sometimes if you can't find what you want, you build it.
If you're curious about the process (or want to make one yourself), check out the GitHub repo.
Let me walk you through how it came together.
The Design Process
I had the idea at the start of the year. Plenty of time, right? Except I didn't check the calendar. By the time I actually sat down to start, Valentine's Day was two weeks away, and one of those weeks was for shipping. "How hard can it be?" Spoiler: pretty hard when you've never designed anything in Fusion 360 and the clock is ticking.
I installed Fusion 360 on my laptop, opened it, and stared at the interface. I had absolutely no idea what I was doing. Night one was spent watching YouTube tutorials. The software could do incredible things, none of which I could pull off in two weeks. I found guides on tracing shapes. Maybe this could work? Then reality hit: Puerto Rico has 78 municipalities. And if this was going to be a puzzle, each piece needed to fit perfectly. Hand-tracing wasn't just tedious. It was a recipe for disaster. Two nights in, I admitted defeat. At least for this approach.
Maybe I could just... buy one? I searched online for a finished product. Nothing. Not a single Puerto Rico puzzle map for sale anywhere. Great. Now I had to figure this out.
Here's the thing: I'm a programmer. And there's this running joke in programming: "why spend 10 minutes doing something manually when you can spend 10 hours automating it?" The math didn't quite work here, but the principle stood. New plan: grab images of each municipality, use a Python library to trace them, convert to STL files. Easy peasy. Except it wasn't. The images I found were different scales, low resolution, and even if I scraped all 78, I'd still have to verify every single one. The clock was still ticking. Not the way.
Day three. Hour three. And then it finally clicked. I was overengineering this. All I needed were coordinates, the actual border points of each municipality. Google Maps shows these borders. They had to exist somewhere as data I could use. All I had to do was find them.
A quick Google search: "puerto rico coordinates api github." The results loaded.
Second link: atlaspr
I stared at the URL. Something about it felt familiar. And then it hit me.
A couple of years ago, the person this gift was meant for had asked me how GitHub worked. I explained repositories and version control. She was trying to access a repo with coordinates of Puerto Rico for a school project she was working on.
This repo.
The same exact data she had used years ago was now going to help me create their Valentine's Day gift. I couldn't have made this up even if I tried. I clicked the link, grinning like an idiot.
I dove into the repo. The data was there: GeoJSON files with coordinates for all 78 municipalities. Perfect.
Now I just needed to turn those coordinates into something I could actually use. Time to write some Python.
But remember, time crunch. Two weeks total. One week for shipping. I was already on day three. The clock was ticking.
I'd been using Claude Code at work for tasks where I know what needs to be done, but here I was completely new to GeoJSON. So I used it to speed things up, basically as an English-to-Python compiler. I wrote out exactly what I needed: load the GeoJSON, extract polygon coordinates for each municipality, handle both simple polygons and complex MultiPolygons, and export everything as SVG files. Claude turned that into working Python.
I ran the script in the terminal.
It worked. One SVG for the full island. Seventy-eight more for each municipality.
From Flat Files to 3D Reality
I had my SVGs. Seventy-nine files: one for the full island, seventy-eight for each municipality. Clean vector graphics, perfectly traced boundaries.
But SVGs are flat. And I needed to print this thing in three dimensions.
The puzzle design: a frame with 8mm tall walls outlining each municipality, and pieces at 7.5mm tall that fit inside with a bit of clearance. But here's the thing, the pieces needed to be smaller than the frame cutouts. Otherwise they'd be the exact same size as the holes and would never fit.
The tricky part? The walls aren't solid shapes. They're the boundaries between municipalities. I needed to take each polygon's outline, give it thickness, and extrude it upward.
I'll admit, this entire part was done by Claude. I'd never used Shapely or Trimesh before. But I knew what I needed, so I used Claude as my English-to-Python compiler again. Extract boundaries, buffer them to create wall thickness, merge overlapping walls, clip to the island outline, extrude to 3D. For the pieces: shrink each municipality inward for tolerance so they'd actually fit in the frame, then extrude to a slightly shorter height.
Claude turned that into working code. I ran the script. Seventy-nine STL files appeared: one frame, seventy-eight puzzle pieces.
I opened the frame file in my 3D slicer. It looked exactly like Puerto Rico, with every municipality carved out as a precise cutout.
This was actually going to work.

3D Printing
At this point it felt like I was on the homestretch. Day 4 was dedicated to printing.
Quick clarification: when I say "days," I mean nights. Nights after work, after socializing, after everything else. These weren't marathon coding sessions. These were stolen hours where I couldn't afford to waste a single minute.
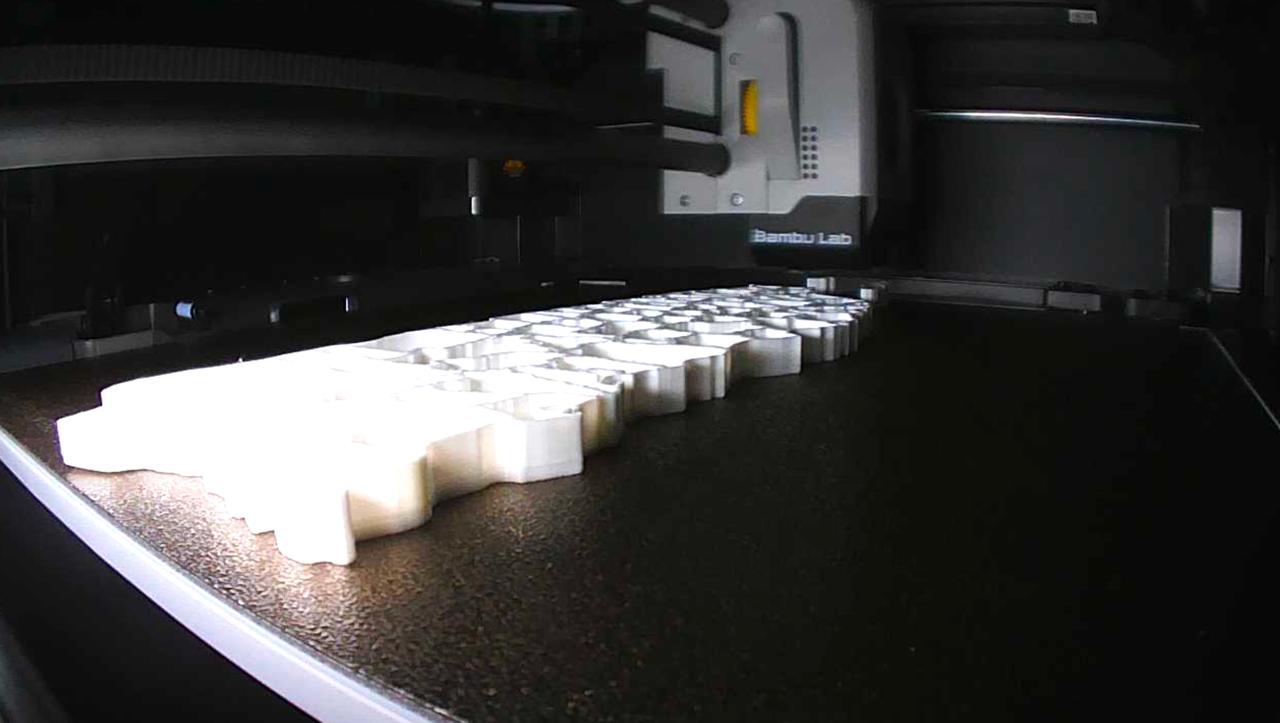
Anyway, the printing. I fired up my Bambu P1S and started with the frame. The first version had no backdrop, just the outline with cutouts for each municipality. After it finished printing, I realized the pieces would just fall right through. Back to the drawing board.
Version 2 added a backdrop so the puzzle could be lifted and moved around without everything scattering. That's the one that made it to the final version.
Next up: the towns. These gave me the most trouble.
The first batch was a test print using black filament. The mainland municipalities printed fine, but one of the smaller island pieces failed. My best guess: it was tiny and positioned near the edge of the print bed, so it didn't adhere properly.
Since that was mostly successful, I decided to switch to a gradient green/teal filament for the final version. I thought the contrast would look nice. Halfway through, pieces started flying around. I figured it was the island placement—I had forgotten to move them away from the edge.
Third attempt: I repositioned the islands toward the center of the bed. They still went flying. At this point I was convinced it was a cleaning issue. I scrubbed the bed extensively with isopropyl alcohol, thinking I just wasn't cleaning it properly.
The clock was ticking and I was running out of time. As I was venting to a friend, he suggested dish soap. I was desperate enough to try anything. I even put on gloves—no way I was getting any grease on that bed. I scrubbed it with dish soap, rinsed it, dried it, and loaded up another print.
It worked! But I had made a critical mistake. Since the small island failing was just a theory, I didn't include it in this print. When I went to print the missing town separately... the gradient filament made it very obvious it didn't match. I had to go for a fifth attempt.
This time I had all the secrets: dish soap, gloves, islands centered, all pieces included. It finally worked.
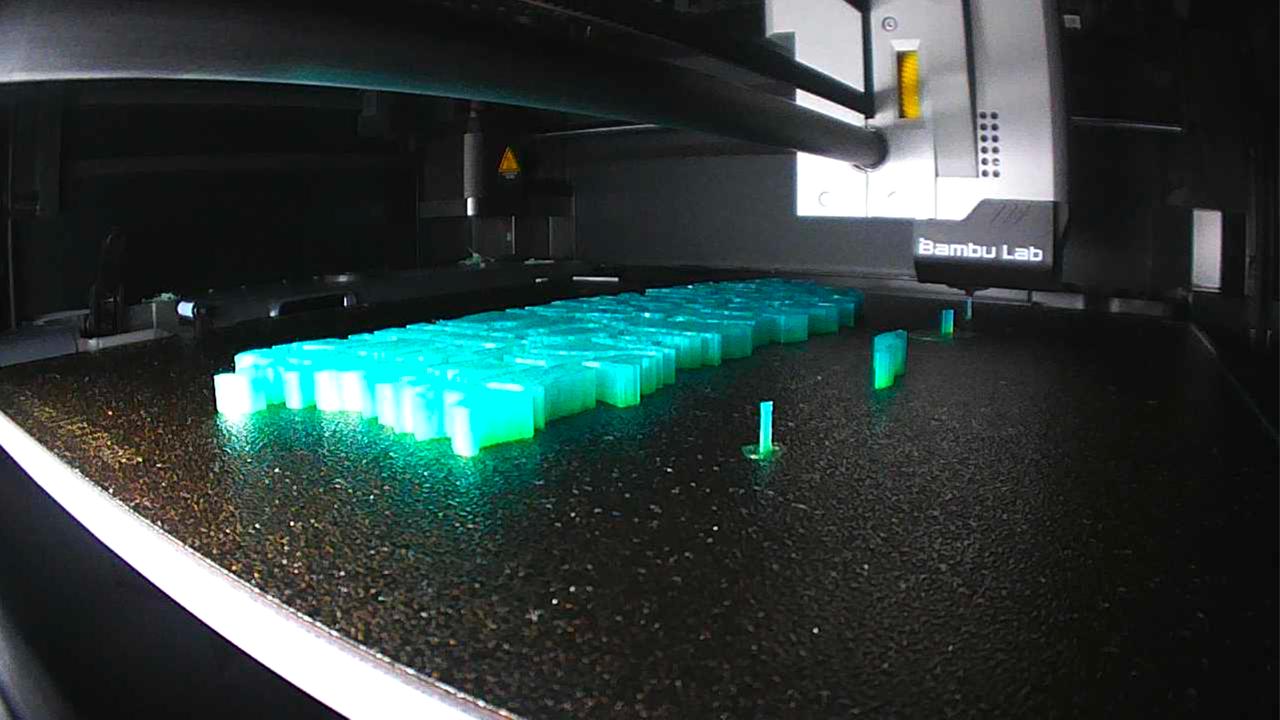
(I did a horrible job documenting this project. These are screenshots from the timelapse. Note to self: take more pictures next time.)
Assembly and Shipping
With all the pieces printed, it was time to put everything together. Most pieces fit perfectly into the frame, but two needed some sanding to fit properly. Nothing major, just a bit of hand filing to get them to slide in smoothly.
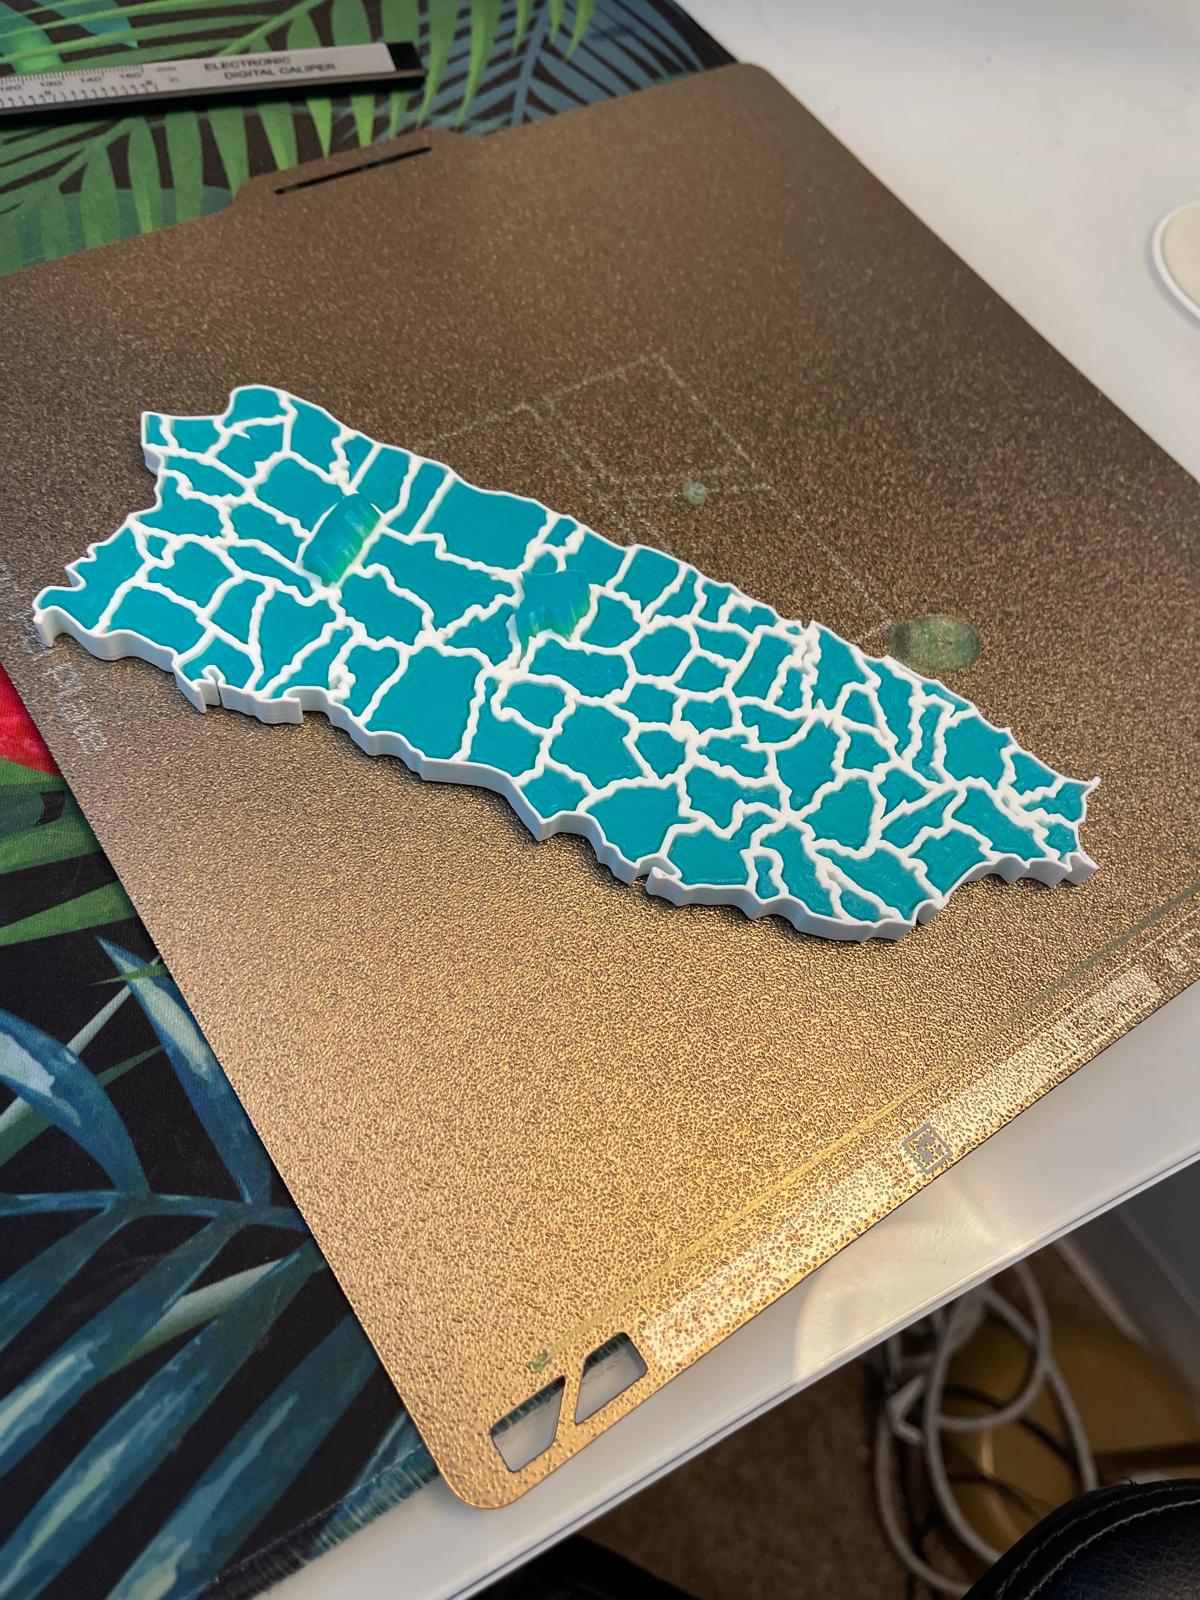
(Pre-sanding, without the smaller islands. Did I mention I did a horrible job documenting this project?)
Once everything was assembled, I vacuum-sealed the whole thing to make sure no pieces would fall out during shipping. I also grabbed two designs from MakerWorld, a box and a stand for the puzzle, and printed those on day 6.
Day 7 was shipping day! Or so I thought. I showed up at the post office only to discover they close at 3pm on Saturdays. So I had to wait until Monday. Valentine's Day was on Saturday.
The package arrived on Thursday. Crisis averted!
Reflections
The best learning comes when you don't expect it. Every once in a while I try to learn something out of interest, but the learning that comes from random projects like this is what keeps me amazed and wanting to keep going.
For V1, I'm pretty happy with how it turned out. Next time I think I'd like to use magnets to make sure the towns don't fall out instead of relying on gravity alone, this will also help with moving the puzzle around. But that's a future improvement.
As for cost, mostly time. But when you're making something for someone you care about, there's no price on that.
Shoutout to atlaspr for providing the GeoJSON data that made this project possible.
Technical specs for anyone curious:
- Printer: Bambu P1S
- Material: Generic PLA
- Settings: All defaults
- Print time: Frame 4h27min (printed separately), towns 3h29min (all 78 pieces printed simultaneously, took 5 attempts to get them all right)
- Assembly: 5-10 minutes since they printed in the right order, just moved them one at a time. Would have been a different story if they were scattered!
If you want to create your own, feel free to check out the GitHub repo.